Dining In

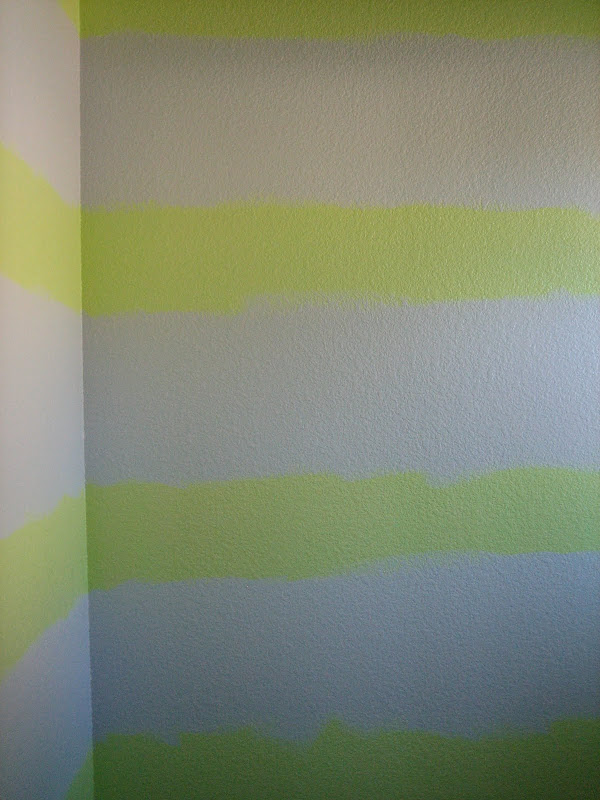
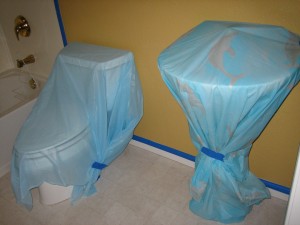
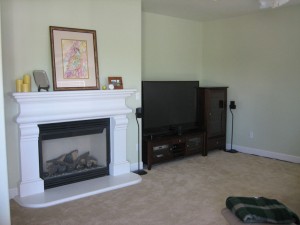
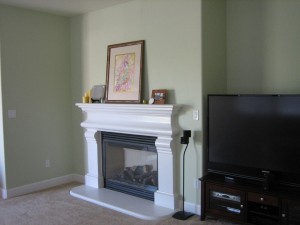
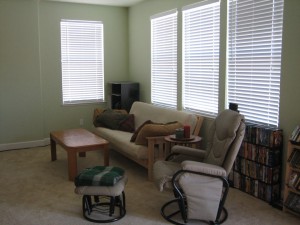
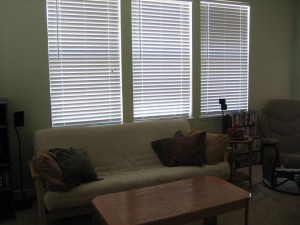
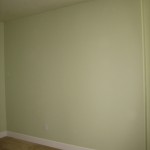
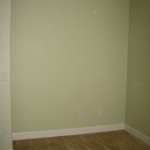
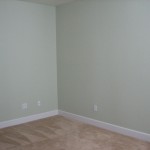
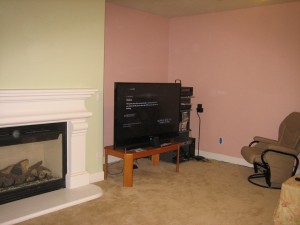
My latest project is painting the dining room.  I’m probably about 2/3 done at this point.  Here is what it looked like before.

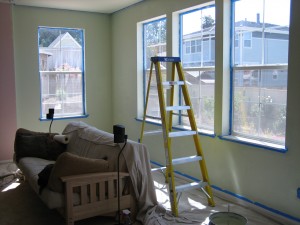
And I’ve also added a little fall flair.

Assuming I don’t get side tracked, the afters should be coming in the next couple of days.  And I have learned my lesson about putting the old curtains back up, so don’t expect to see those again.

© 2009 The Beehive All Rights Reserved

Beautifying the Bathroom

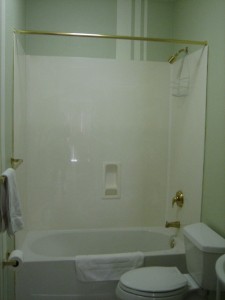
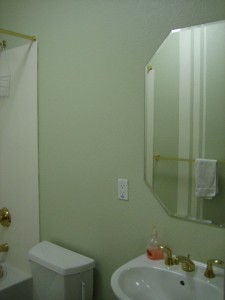
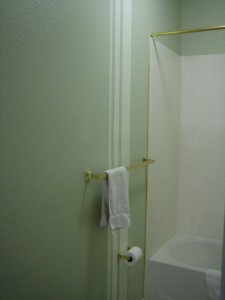
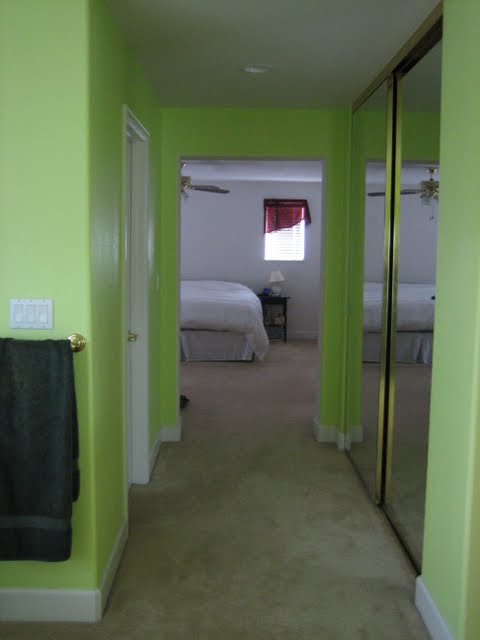
When we moved in, our master bathroom was a grotesque shade of fluorescent green. One of our friends said we just needed a black light in the room.

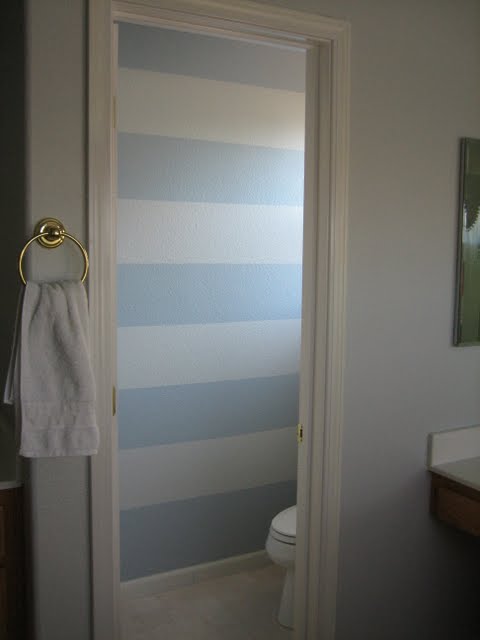
The awesome green paint ranked high on our list of things to change as soon as possible, starting with the WC. I painted it in stripes of Behr’s Silver Tradition and Soft Denim.

I carried those colors into the main bathroom, but not the striping action. The ceiling became Soft Denim and the green walls were covered with Silver Tradition.

The whiter-than-white master bedroom is still in progress, but it’s getting a makeover too. To be continued . . .

© 2009 The Beehive All Rights Reserved

House Tour Part VI: The Downstairs Bath

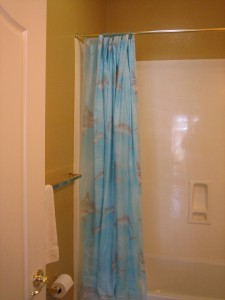
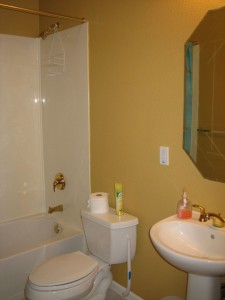
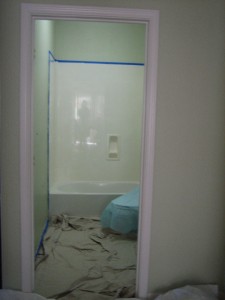
This is our downstairs bathroom. When we moved in, it was a strange brownish orange (which might be called “baby crap” depending on what your baby’s been eating) and had a dolphin-covered disposable shower curtain.

bathroombefore2 bathroombefore1

I had never seen a disposable shower curtain before. Turns out they are actually quite useful.

bathroomduring1

We had leftover paint from the family room and kitchen, and this bathroom is right off of those two rooms, so it made sense to continue on with that color.

bathroomduring3 bathroomduring2

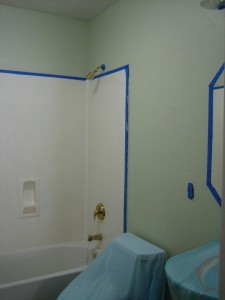
But wait! There’s more! In an effort to make it look like this was not the same old thing over and over again, I painted some stripes on the walls. This involved some (sort of) careful measuring, blue painters tape, and a handy laser level. One thing I learned is that a textured wall makes it difficult to get a nice crisp line. In order to prevent the paint from seeping under the tape into the lower levels of the texture, you need to make sure you firmly press the tape down into the divots so there is no seepage. Here is the finished product.
bathroomafter2
bathroomafter1

bathroomafter3

© 2009 The Beehive All Rights Reserved

No More Salmon in the Kitchen

The color, that is. Actually, now that I think about it, we’ve never had the fish in the kitchen either, and given Steve’s distaste for it, we probably never will. So interpret how you please.

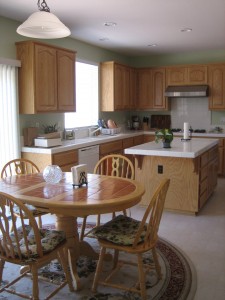
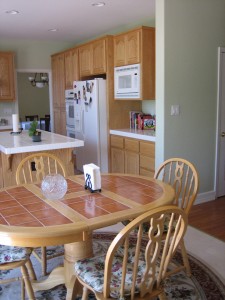
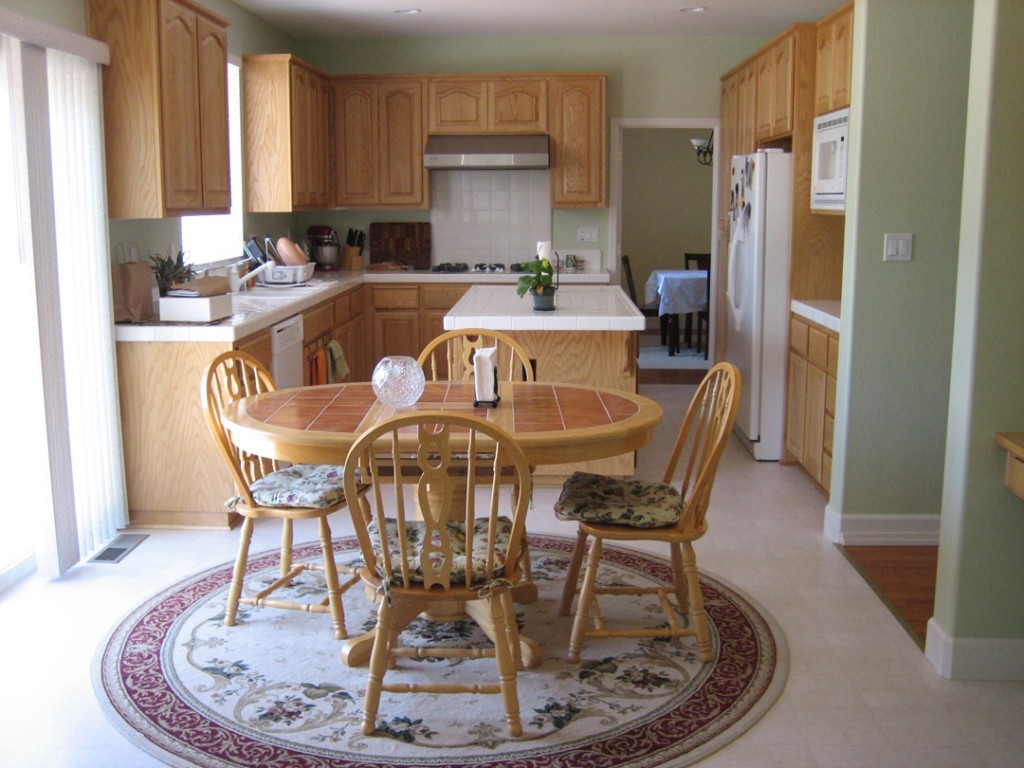
Back to the point of this post, when we moved in, the walls in the family room and kitchen looked like they were dripping with Pepto Bismol. We took care of the family room first, and the kitchen was next on our to-do list. Here’s what it looked like before:

before-kitchen-5 before-kitchen-6 before-kitchen-3

It doesn’t look like it should be too difficult a paint job, because there is not a whole lot of area to cover. As usual, it didn’t quite turn out that way. The tight spaces and numerous corners made it very time consuming. But it turned out fabulous.

kitchen-after-1 kitchen-after-2

kitchen-after-3

Doesn’t it look like a different room? I think the green paint looks so much nicer with the blonde wood cabinets. The ceiling still needs a coat of paint, and I look forward to getting rid of the rug under the kitchen table, but already it is so much more pleasant to be in the kitchen and family room now.

© 2009 The Beehive All Rights Reserved

House Tour Part V: The Kitchen

It’s back downstairs for a look at another one of the rooms we spend a great deal of time in: the kitchen.  You might recall that the family room sits right off the kitchen.  They are actually totally open to each other.  And that means that the Pepto-Bismol pink paint that coated the family room goes right on through the kitchen. 

before-kitchen-5 before-kitchen-6 before-kitchen-3

We don’t have huge plans for the kitchen.  Other than the color, it’s been great (particularly since the size of our old apartment kitchen was pretty similar to the size of the center island in this kitchen).  The amount of counter space and storage is like a dream.  The kitchen table, chairs, seat cushions, and rug were all left by the prior owner, and we really like the table.  We’ll paint it to match the family room (ok, we admit it, it’s well under way and there will be after shots soon), hopefully switch out the round rug under the table and chair cushions, and replace the dark brown electrical outlets with something more in line with the color scheme of the room (either white or perhaps a wood tone to match the wood of the island where they are located). 

2009 © The Beehive All Rights Reserved

Finally Finished!

Here is the completed paint job in the family room, with all the furniture put back in place. We recently got a new tv stand and audio tower, largely because we wanted the use of our coffee table/make-shift tv stand back.

after-family-room-4 after-family-room-1
after-family-room-3 after-family-room-2

In the works for this room: New curtains; new stain on the coffee table; new-to-us couch, and a few other things.

2009 © The Beehive All Rights Reserved

Size Matters

For our family room painting project, we purchased a 5 gallon bucket rather than several 1 gallon cans of paint.  Why?  It’s cheaper to buy in bulk and we knew we would be using most of it because we were painting two large rooms.  Buying in bulk can backfire, though.  A great deal on a jumbo package of breakfast pastries is not such a great deal if half of them spoil before you can eat them. 

A 5 gallon bucket is extremely unwieldy.  I should’ve guessed this when I saw Robert the paint guy use a dolly to bring the giant bucket of interior eggshell base to the paint center for mixing.  I strained to get it into the trunk of my car, and I strained to get it out of the trunk of my car.  I felt like a competitor in the World’s Strongest Man competition as I hoisted it and shuffled from the garage to the family room with veins bulging from my neck.  I struggled to pry the lid off only to discover that it had to be stirred — and stirring was no easy task for that volume of paint.  And pouring from the bucket to a paint tray?  Not an option. 

The bottom line is, the big bucket is hard to handle and extremely messy.  It is about $2 cheaper per gallon than buying individual gallon cans, so we saved about $10 altogether.  Was it worth it?  No way, Jose.  I wasted a lot of time trying to figure out what to do with this big heavy bucket, and I probably spilled $10 worth of paint over the course of the project anyway.  Unless you are a body builder who doesn’t mind messes, I’d shell out the extra cash for smaller cans.  But that’s just me.

Luckily, the bucket is about half empty now . . . because we finally finished painting the last corner of the family room.  We’re still putting the pieces back together, so the final “after” pictures will have to wait.

familyroomfinalcorner2 familyroomfinalcorner1 familyroomfinalcorner3

Now, on to the kitchen . . .

2009 © The Beehive All Rights Reserved
Still More Painting

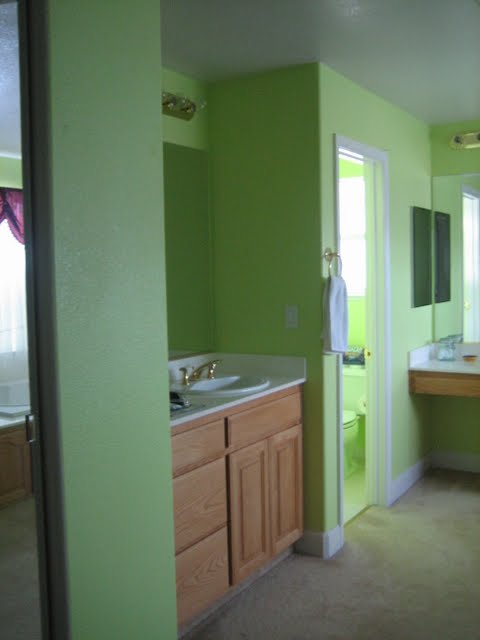
It’s time to share a little bit more progress on the family room painting project.  I’m happy to say we are probably about 2/3 done now.  We tackled the outer wall with the windows last weekend.  This area required a lot of prep work because we had to remove the blinds and hardware and tape of the windows.  Sounds pretty obvious, but the prior owner didn’t bother, as evidenced by the pink paint here and there on the blinds, outlet covers, and wall switches.  The room actually looked great when we removed the blinds early in the morning.  It felt really open and you could gaze upon the gorgeous backyard.  That feeling did not last long into the afternoon as the sun started beating in.  It was brutal trying to paint in the scorching heat with the sun glaring in!  Here’s the work-in-progress.  I believe this is actually just after the second coat was finished, so we were just waiting for it to dry so we could remove the painters tape and put things back together. 

familyroompaintinginprogress

And here’s the finished wall.  Of course, there still is one large pink corner left in the room.  We’ve saved it for last because it’s the corner housing the television and components, and it’s not going to be fun to untangle that mess of cords and get it out of the way to paint without fear of drips on precious AV equipment.  

2-3rdspaintedfamilyroom2

Fingers crossed we can do that last corner all at once.  My hope is that it won’t be too bad because there aren’t a lot of windows or edges so it should go quickly.  Of course, my hope with the window wall was that it would go quickly because there was not much surface area to cover . . .

2009 © The Beehive All Rights Reserved

Paint it Green

You might remember that we removed the curtains from the family room and painted the ceiling a pale green a while back.  Well, we’ve now started on the walls.

halfpaintedfamilyroom2

The color is Glidden’s Sea Drops, which is a little bit darker than the Iced Cilantro on the ceiling.  We are hoping some crisp white crown molding will make that distinction pop. 

And you’re right, I did say started with the walls, which clearly implies we are not finished.  So we’ve got a half green, half pink room.  Nice!  We’ll continue working on this project and keep you posted.

halfpaintedfamilyroom1

2009 © The Beehive All Rights Reserved
Painting? There’s an App for That

The San Jose Mercury News published a tidbit explaining yet another of the iPhone myriad capabilities (can you blame them since the headquarters of Apple, Inc. is located in the heart of its service area?).
Think those peonies in your neighbor’s yard are the perfect color for your bedroom walls? As the iPhone commercials would say, there’s an app for that. At least two, in fact. Benjamin Moore and Sherwin-Williams have both introduced free iPhone applications that let you shoot a photo and then match a color in the picture to a paint hue. Both also suggest coordinating colors and can even guide the user to the nearest retailer.

Pretty cool.  I don’t have an iPhone, though, so I guess I’ll have to pick paint the old-fashioned way — old-fashioned meaning with online tools paint companies have on their websites to help you find coordinating colors and visualize your space. 

2009 © The Beehive All Rights Reserved