Steve is a big fan of lemonade enhanced by other fruit. At restaurants, he always orders strawberry or raspberry lemonade, if it’s on the menu. Lately, he’s been talking about this blueberry lemonade he had at some fancy-schmancy restaurant in San Francisco. He wanted to make it at home, but we could not find blueberry flavored syrup. We also did not have any blueberries. We did, however, have a whole mess of wild blackberries picked from his parents’ yard this past weekend. So, blackberry lemonade it was instead.
I found several blackberry syrup recipes online and adapted my own. I figured we could use it for lemonade or iced tea (Steve is also fond of blackberry iced tea). The ingredients are simple:
- 2 cups blackberries
- 1 1/2 cups sugar
- 1 cup water
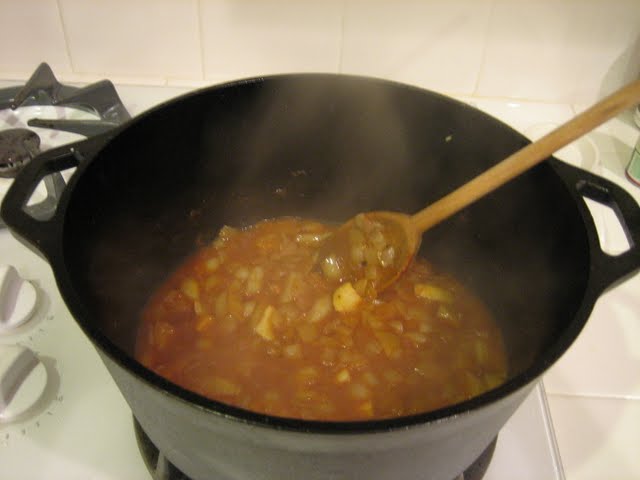
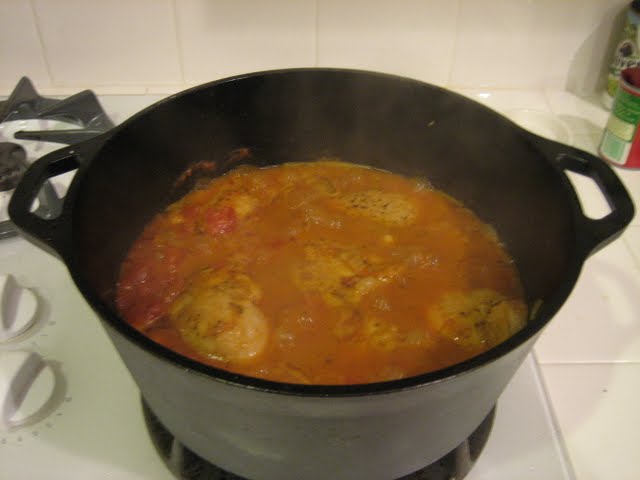
Combine the ingredients in a saucepan and bring to a boil and keep it boiling for 5 minutes. This will probably be at medium-high heat, but keep an eye on it and adjust the heat and/or stir the mixture as necessary to keep it from boiling over or burning on the bottom of the pan. After 5 minutes, kill the heat and smash up the blackberries with a spoon, or a potato masher, or a spatula, or whatever works for you. Let the mixture steep until it’s cool enough for you to handle, at least 15 minutes. Then, strain the solids out and you will be left with blackberry syrup.
As for making the lemonade, I just followed the recipe I use all the time for basil lemonade. Basically 1 part syrup, 1 part lemon juice, and 4 parts water. So, for one big glass, 1/4 cup syrup, 1/4 cup lemon juice, and 1 cup water. This makes a pretty tart drink, but I like my lemonade with a little bite to it. You can adjust the amount of syrup to your taste. Steve likes his on the sweet side no matter what fruit he’s adding, so he usually mixes a glass of plain lemonade and then adds syrup.

Pretty color, isn’t it? I was a little worried it would be totally unappetizing. See, the syrup was purple, and lemonade is yellow (well, sort of), and since those colors are opposites on the color wheel (complementary colors, to those in the know) mixing them creates and unlovely shade of brown. Yuck. Luckily, the syrup is pretty much strong enough to completely overpower the color of the lemon, so it turned a pretty red-violet. Yum!
© 2012 The Beehive All Rights Reserved