House Tour Part VI: The Downstairs Bath

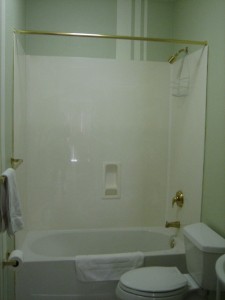
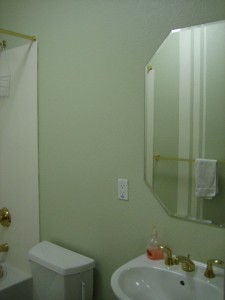
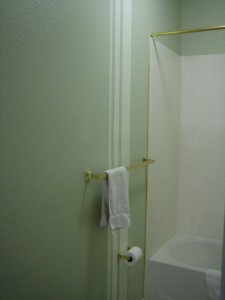
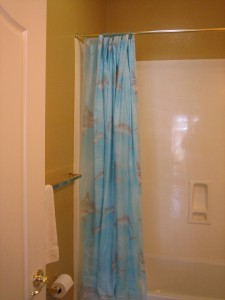
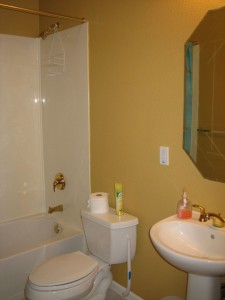
This is our downstairs bathroom. When we moved in, it was a strange brownish orange (which might be called “baby crap” depending on what your baby’s been eating) and had a dolphin-covered disposable shower curtain.

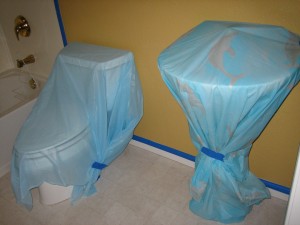
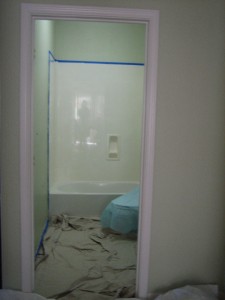
bathroombefore2 bathroombefore1

I had never seen a disposable shower curtain before. Turns out they are actually quite useful.

bathroomduring1

We had leftover paint from the family room and kitchen, and this bathroom is right off of those two rooms, so it made sense to continue on with that color.

bathroomduring3 bathroomduring2

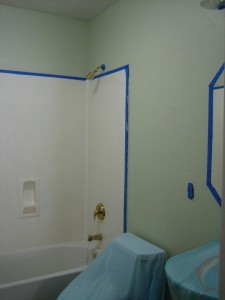
But wait! There’s more! In an effort to make it look like this was not the same old thing over and over again, I painted some stripes on the walls. This involved some (sort of) careful measuring, blue painters tape, and a handy laser level. One thing I learned is that a textured wall makes it difficult to get a nice crisp line. In order to prevent the paint from seeping under the tape into the lower levels of the texture, you need to make sure you firmly press the tape down into the divots so there is no seepage. Here is the finished product.
bathroomafter2
bathroomafter1

bathroomafter3

© 2009 The Beehive All Rights Reserved

The Blind Leading the Blinds

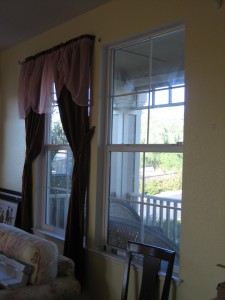
When we moved in, there were no blinds installed in the dining room or living room.  There were decorative draperies, but nothing that you could really shut to keep the sun out or prevent the neighbors from looking in and seeing you running around naked.  The seller did, however, leave several sets of blinds behind in a closet, which she said were for the living room, dining room, and garage.  She urged us not to install them, though, so that all that beautiful sunlight could shine in.  That sun isn’t so beautiful when it’s 103 degrees outside and the sun is beating in.

blindinstallbefore

I think in response to several extremely hot days, Steve decided he was going to hang the blinds.  Obstacle #1: There are two large windows in the dining room, two large windows and two small windows in the living room, and two large windows in the garage.  There are only four sets of blinds.  Easily overcome.  We  don’t really need the blinds in the garage right now, so we’ll just use them on the large windows in the dining room and living room (as they are clearly too large for the small windows).

Obstacle #2:  The blinds were not all the same size, as were the windows in the living room and dining room where the blinds were to be installed.  Although all the blinds were the same width, two of them were about a foot too short for the windows.  Steve scavenged the house to see if maybe some other rooms with a same width windows had blinds that were way too long.  He did find one.  That’s right, just one.  So after he switched the too long blinds for the shorter ones in the closet, we were left with three sets of right sized blinds and one too short, with no window anywhere in the house that would accommodate it.

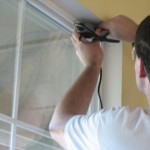
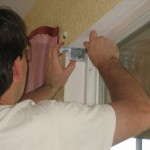
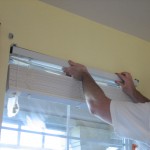
blindinstalldrill2 blindinstallscrew blindinstallhang

So we installed blinds in three of the four windows and put the last set back in the closet, for the moment.  The installation was incredibly easy.  Steve measured and marked for bracket placement.  Each bracket had four screws, for which Steve pre-drilled the holes.  He used a dremel to fit better into those tight spaces than a big power drill.  Once the brackets are installed, all you have to do is slide in the blinds and clip the bracket shut. 

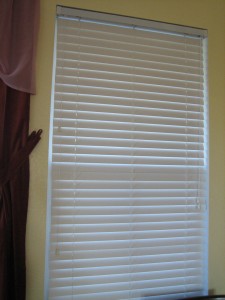
blindinstallafter

We’ve been very happy with the blinds so far.  They help a great deal to control the temperature inside the house on hot days.  We’ll be shopping for that last large set and too small sets of blinds soon.

© 2009 The Beehive All Rights Reserved

House Tour Part V: The Kitchen

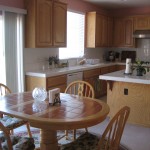
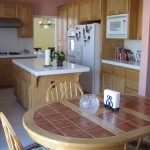
It’s back downstairs for a look at another one of the rooms we spend a great deal of time in: the kitchen.  You might recall that the family room sits right off the kitchen.  They are actually totally open to each other.  And that means that the Pepto-Bismol pink paint that coated the family room goes right on through the kitchen. 

before-kitchen-5 before-kitchen-6 before-kitchen-3

We don’t have huge plans for the kitchen.  Other than the color, it’s been great (particularly since the size of our old apartment kitchen was pretty similar to the size of the center island in this kitchen).  The amount of counter space and storage is like a dream.  The kitchen table, chairs, seat cushions, and rug were all left by the prior owner, and we really like the table.  We’ll paint it to match the family room (ok, we admit it, it’s well under way and there will be after shots soon), hopefully switch out the round rug under the table and chair cushions, and replace the dark brown electrical outlets with something more in line with the color scheme of the room (either white or perhaps a wood tone to match the wood of the island where they are located). 

2009 © The Beehive All Rights Reserved

Welcome to the Neighborhood!

We’ve been in the new house about three months now.  We had one brief encounter with our next door neighbors one Saturday morning when we were out weeding, but other than that, we have not met anyone in the neighborhood.  Well today we received our first real introduction to the neighborhood in the mail, and it went something like this:

Dear New Home Owners,

Perhaps as a new owner in Eagle’s View II you are unaware of the Covenants, Conditions and Restrictions mandated by this development.

Enclosed is a copy for your benefit.  Please read section 5.5, the requirement on maintaining your landscaping.  Please hire someone to assist you if you are unable to maintain it yourselves.  Our home values have diminished quite a bit already, we would appreciate it if they did not devalue any further due to neglect.

Thank you so very much for your attention to this matter.

Your neighbors of Eagle’s View II

You’ll hear no argument from me that the yard needs some attention, but there’s also no question that it is vastly improved from the state it was in when we moved in, which Steve decribed as “jungle-like.”  Both of our families have agreed that it looks much, much better.  We’ve worked really hard to get things in better shape.  Could you give us a little credit?

The thing that really bothers me, though, is that this person or persons did not even have the guts to sign the letter.  It’s totally anonymous, with no return address.  We’re your new neighbors.  If you have a problem, would it really kill you to stop by, introduce yourself, and talk about the issue?  Is an anonymous nasty-gram really the best way to welcome someone new to your street?

I remember when I was growing up I new pretty much everybody living on our street.  All the neighborhood kids used to ride bikes or play ball in the street when the weather was good, and our parents all used to bump into each other outside and chat.  For a long time we had a block party every year around the 4th of July.  I can’t imagine being friendly in that manner with someone that would send this type of anonymous letter, and since it’s not signed, it feels like they were all in on it. 

I hope nobody around here stops by to borrow a cup of sugar anytime soon.

2009 © The Beehive All Rights Reserved
Finally Finished!

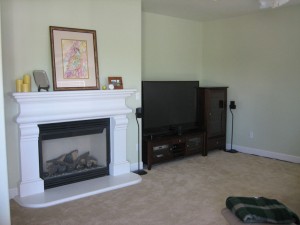
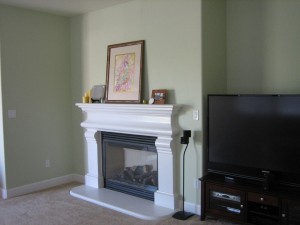
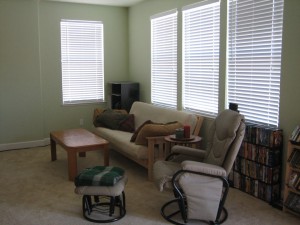
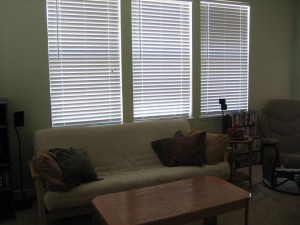
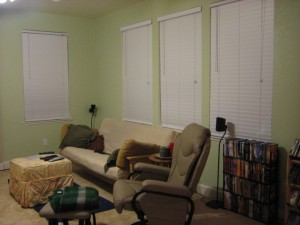
Here is the completed paint job in the family room, with all the furniture put back in place. We recently got a new tv stand and audio tower, largely because we wanted the use of our coffee table/make-shift tv stand back.

after-family-room-4 after-family-room-1
after-family-room-3 after-family-room-2

In the works for this room: New curtains; new stain on the coffee table; new-to-us couch, and a few other things.

2009 © The Beehive All Rights Reserved
House Tour Part IV: The Guest Room

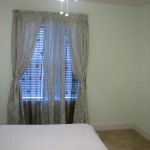
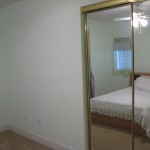
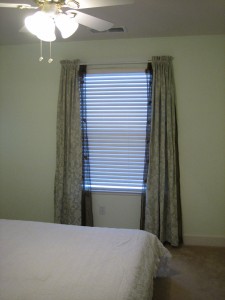
Aside from the peek at the WC in the master bathroom, we haven’t shown you anything upstairs and it’s time to change that.  So we’ll show you where you would stay if you came for an overnight visit.  These three shots give a good sense of what the room looks like from left to right as you step in the door.

guestroom2 guestroom1 guestroom3

We have no real plans for this room yet.   The only use it’s seen is me taking a catnap one afternoon when the master bedroom was prohibitively hot due to the sun beating down on that side of the house.  It’s not a five star accommodation (yet), but it is certainly workable.  In fact, it’s probably one of the least offensive pastel colors in the house, so we are not touching the walls anytime soon.  I actually did give the room a minor tweak while I was taking these pictures.  Can you spot the difference? 

guestroomcurtains1

Yup, all I did was remove a curtain panel.  I think the lines are more simple and clean this way.  We’ll probably do something with the small window curtains too, but that would involve a sewing machine we don’t own yet, so I’m sure it will be a while.

2009 © The Beehive All Rights Reserved
Size Matters

For our family room painting project, we purchased a 5 gallon bucket rather than several 1 gallon cans of paint.  Why?  It’s cheaper to buy in bulk and we knew we would be using most of it because we were painting two large rooms.  Buying in bulk can backfire, though.  A great deal on a jumbo package of breakfast pastries is not such a great deal if half of them spoil before you can eat them. 

A 5 gallon bucket is extremely unwieldy.  I should’ve guessed this when I saw Robert the paint guy use a dolly to bring the giant bucket of interior eggshell base to the paint center for mixing.  I strained to get it into the trunk of my car, and I strained to get it out of the trunk of my car.  I felt like a competitor in the World’s Strongest Man competition as I hoisted it and shuffled from the garage to the family room with veins bulging from my neck.  I struggled to pry the lid off only to discover that it had to be stirred — and stirring was no easy task for that volume of paint.  And pouring from the bucket to a paint tray?  Not an option. 

The bottom line is, the big bucket is hard to handle and extremely messy.  It is about $2 cheaper per gallon than buying individual gallon cans, so we saved about $10 altogether.  Was it worth it?  No way, Jose.  I wasted a lot of time trying to figure out what to do with this big heavy bucket, and I probably spilled $10 worth of paint over the course of the project anyway.  Unless you are a body builder who doesn’t mind messes, I’d shell out the extra cash for smaller cans.  But that’s just me.

Luckily, the bucket is about half empty now . . . because we finally finished painting the last corner of the family room.  We’re still putting the pieces back together, so the final “after” pictures will have to wait.

familyroomfinalcorner2 familyroomfinalcorner1 familyroomfinalcorner3

Now, on to the kitchen . . .

2009 © The Beehive All Rights Reserved
The Entryway

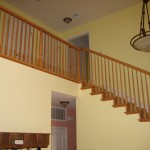
Our entryway is pretty spacious. The first thing you see when you walk in are the stairs, which lead up to the second floor that is open to the downstairs. Of course, this kind of space is great for flying mini helicopters, but less than ideal when it comes to cleaning.

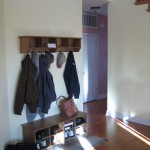
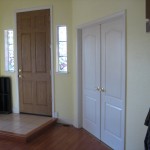
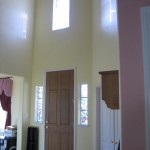
As we’ve posted about before, we’ve got a little coat and shoe area on the left as you walk in the front door (which is on the right if you are coming in from the garage — you can’t see the garage door but it’s in the pink hallway). If you stand at the shoe rack and look back at the front door, you will see the double doors leading to the “bonus” room, as well as a faux stained glass window high on the wall above the front door.

entryway1 entryway2 entryway3
entryway4 entryway5 entryway6

As far as plans for this space, the first thing it needs is a coat of paint. The items currently in the little nook by the banister are going to end up elsewhere, and I’ve been thinking about an upright piano against the wall under the stairs. We’d have to do some measuring to see if it will be functional in the space. I’ve also considered ceiling tiles. Since the ceiling is so high, I thought it might be nice to add to the grand-ness of the entryway with a ceiling treatment that mimics pressed tin ceiling tiles.

2009 © The Beehive All Rights Reserved
Still More Painting

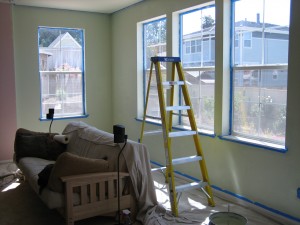
It’s time to share a little bit more progress on the family room painting project.  I’m happy to say we are probably about 2/3 done now.  We tackled the outer wall with the windows last weekend.  This area required a lot of prep work because we had to remove the blinds and hardware and tape of the windows.  Sounds pretty obvious, but the prior owner didn’t bother, as evidenced by the pink paint here and there on the blinds, outlet covers, and wall switches.  The room actually looked great when we removed the blinds early in the morning.  It felt really open and you could gaze upon the gorgeous backyard.  That feeling did not last long into the afternoon as the sun started beating in.  It was brutal trying to paint in the scorching heat with the sun glaring in!  Here’s the work-in-progress.  I believe this is actually just after the second coat was finished, so we were just waiting for it to dry so we could remove the painters tape and put things back together. 

familyroompaintinginprogress

And here’s the finished wall.  Of course, there still is one large pink corner left in the room.  We’ve saved it for last because it’s the corner housing the television and components, and it’s not going to be fun to untangle that mess of cords and get it out of the way to paint without fear of drips on precious AV equipment.  

2-3rdspaintedfamilyroom2

Fingers crossed we can do that last corner all at once.  My hope is that it won’t be too bad because there aren’t a lot of windows or edges so it should go quickly.  Of course, my hope with the window wall was that it would go quickly because there was not much surface area to cover . . .

2009 © The Beehive All Rights Reserved

Paint it Green

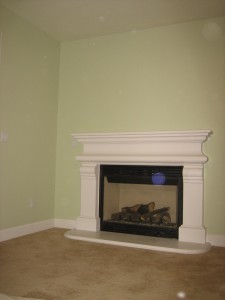
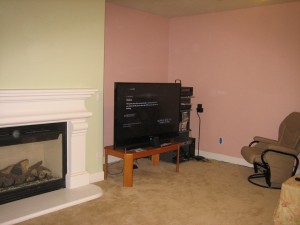
You might remember that we removed the curtains from the family room and painted the ceiling a pale green a while back.  Well, we’ve now started on the walls.
halfpaintedfamilyroom2

The color is Glidden’s Sea Drops, which is a little bit darker than the Iced Cilantro on the ceiling.  We are hoping some crisp white crown molding will make that distinction pop. 

And you’re right, I did say started with the walls, which clearly implies we are not finished.  So we’ve got a half green, half pink room.  Nice!  We’ll continue working on this project and keep you posted.

halfpaintedfamilyroom1

2009 © The Beehive All Rights Reserved