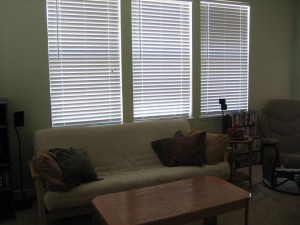
The Blind Leading the Blinds

When we moved in, there were no blinds installed in the dining room or living room.  There were decorative draperies, but nothing that you could really shut to keep the sun out or prevent the neighbors from looking in and seeing you running around naked.  The seller did, however, leave several sets of blinds behind in a closet, which she said were for the living room, dining room, and garage.  She urged us not to install them, though, so that all that beautiful sunlight could shine in.  That sun isn’t so beautiful when it’s 103 degrees outside and the sun is beating in.
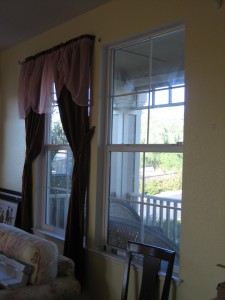
blindinstallbefore

I think in response to several extremely hot days, Steve decided he was going to hang the blinds.  Obstacle #1: There are two large windows in the dining room, two large windows and two small windows in the living room, and two large windows in the garage.  There are only four sets of blinds.  Easily overcome.  We  don’t really need the blinds in the garage right now, so we’ll just use them on the large windows in the dining room and living room (as they are clearly too large for the small windows).

Obstacle #2:  The blinds were not all the same size, as were the windows in the living room and dining room where the blinds were to be installed.  Although all the blinds were the same width, two of them were about a foot too short for the windows.  Steve scavenged the house to see if maybe some other rooms with a same width windows had blinds that were way too long.  He did find one.  That’s right, just one.  So after he switched the too long blinds for the shorter ones in the closet, we were left with three sets of right sized blinds and one too short, with no window anywhere in the house that would accommodate it.
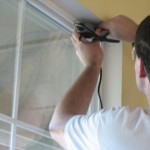
blindinstalldrill2 blindinstallscrew blindinstallhang

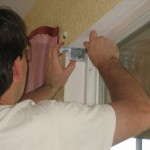
So we installed blinds in three of the four windows and put the last set back in the closet, for the moment.  The installation was incredibly easy.  Steve measured and marked for bracket placement.  Each bracket had four screws, for which Steve pre-drilled the holes.  He used a dremel to fit better into those tight spaces than a big power drill.  Once the brackets are installed, all you have to do is slide in the blinds and clip the bracket shut. 
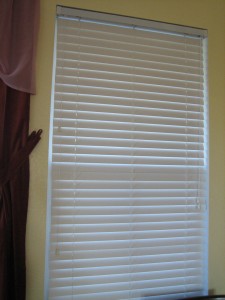
blindinstallafter

We’ve been very happy with the blinds so far.  They help a great deal to control the temperature inside the house on hot days.  We’ll be shopping for that last large set and too small sets of blinds soon.

© 2009 The Beehive All Rights Reserved

Finally Finished!

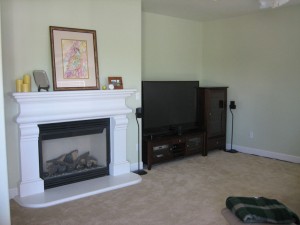
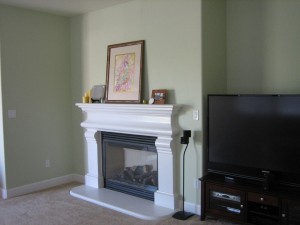
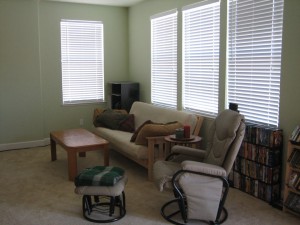
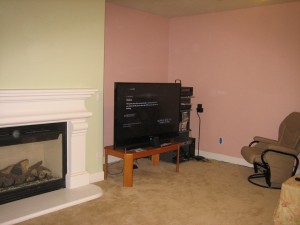
Here is the completed paint job in the family room, with all the furniture put back in place. We recently got a new tv stand and audio tower, largely because we wanted the use of our coffee table/make-shift tv stand back.

after-family-room-4 after-family-room-1
after-family-room-3 after-family-room-2

In the works for this room: New curtains; new stain on the coffee table; new-to-us couch, and a few other things.

2009 © The Beehive All Rights Reserved
Size Matters

For our family room painting project, we purchased a 5 gallon bucket rather than several 1 gallon cans of paint.  Why?  It’s cheaper to buy in bulk and we knew we would be using most of it because we were painting two large rooms.  Buying in bulk can backfire, though.  A great deal on a jumbo package of breakfast pastries is not such a great deal if half of them spoil before you can eat them. 

A 5 gallon bucket is extremely unwieldy.  I should’ve guessed this when I saw Robert the paint guy use a dolly to bring the giant bucket of interior eggshell base to the paint center for mixing.  I strained to get it into the trunk of my car, and I strained to get it out of the trunk of my car.  I felt like a competitor in the World’s Strongest Man competition as I hoisted it and shuffled from the garage to the family room with veins bulging from my neck.  I struggled to pry the lid off only to discover that it had to be stirred — and stirring was no easy task for that volume of paint.  And pouring from the bucket to a paint tray?  Not an option. 

The bottom line is, the big bucket is hard to handle and extremely messy.  It is about $2 cheaper per gallon than buying individual gallon cans, so we saved about $10 altogether.  Was it worth it?  No way, Jose.  I wasted a lot of time trying to figure out what to do with this big heavy bucket, and I probably spilled $10 worth of paint over the course of the project anyway.  Unless you are a body builder who doesn’t mind messes, I’d shell out the extra cash for smaller cans.  But that’s just me.

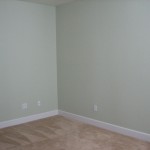
Luckily, the bucket is about half empty now . . . because we finally finished painting the last corner of the family room.  We’re still putting the pieces back together, so the final “after” pictures will have to wait.

familyroomfinalcorner2 familyroomfinalcorner1 familyroomfinalcorner3

Now, on to the kitchen . . .

2009 © The Beehive All Rights Reserved
Paint it Green

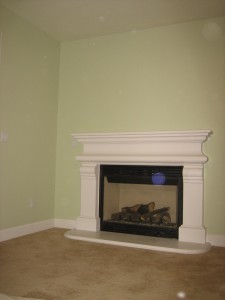
You might remember that we removed the curtains from the family room and painted the ceiling a pale green a while back.  Well, we’ve now started on the walls.

halfpaintedfamilyroom2

The color is Glidden’s Sea Drops, which is a little bit darker than the Iced Cilantro on the ceiling.  We are hoping some crisp white crown molding will make that distinction pop. 

And you’re right, I did say started with the walls, which clearly implies we are not finished.  So we’ve got a half green, half pink room.  Nice!  We’ll continue working on this project and keep you posted.

halfpaintedfamilyroom1

2009 © The Beehive All Rights Reserved