House Tour Part VI: The Downstairs Bath

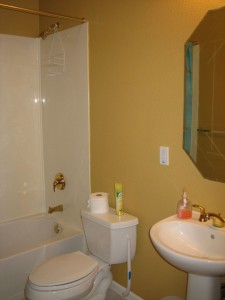
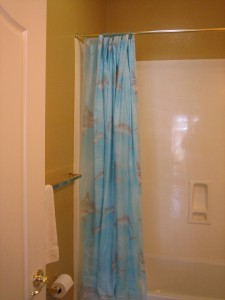
This is our downstairs bathroom. When we moved in, it was a strange brownish orange (which might be called “baby crap” depending on what your baby’s been eating) and had a dolphin-covered disposable shower curtain.
bathroombefore2 bathroombefore1

I had never seen a disposable shower curtain before. Turns out they are actually quite useful.
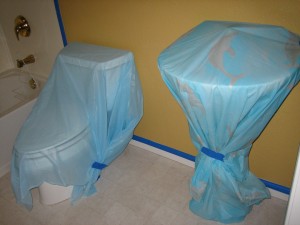
bathroomduring1

We had leftover paint from the family room and kitchen, and this bathroom is right off of those two rooms, so it made sense to continue on with that color.
bathroomduring3 bathroomduring2

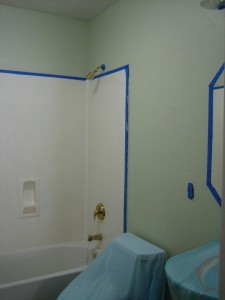
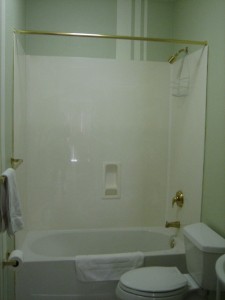
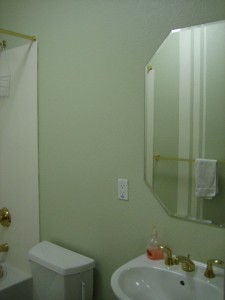
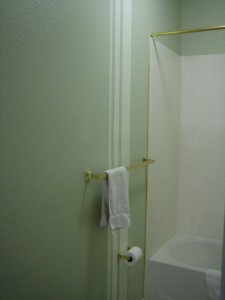
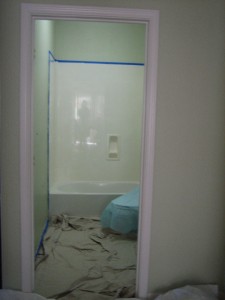
But wait! There’s more! In an effort to make it look like this was not the same old thing over and over again, I painted some stripes on the walls. This involved some (sort of) careful measuring, blue painters tape, and a handy laser level. One thing I learned is that a textured wall makes it difficult to get a nice crisp line. In order to prevent the paint from seeping under the tape into the lower levels of the texture, you need to make sure you firmly press the tape down into the divots so there is no seepage. Here is the finished product.
bathroomafter2
bathroomafter1

bathroomafter3

© 2009 The Beehive All Rights Reserved

Window Woes Fixed With Film

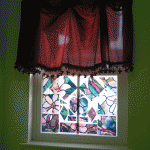
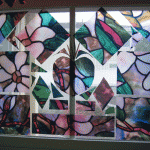
Our latest project will give you a sneak peak into part of our master bathroom.  We have a water closet separating the toilet from the shower, tub, and sink area.  The prior owner had a littled faux stained glass action going on.  But look closer.  She didn’t just apply a decorative window film, she cut the film into a mosaic-style design before applying it.  Oh, and isn’t the flourescent green paint fabulous?!?

windowfilm1 windowfilm2

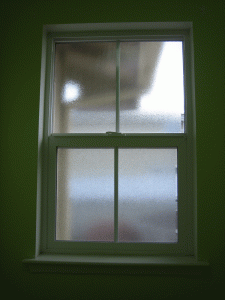
Needless to say, we removed the decorative film, as well as the lovely valance.  Of course, that left us with a wide open view straight into the neighbors’ house, which happens to correlate to the neighbors’ wide open view into our bathroom.  Our answer happens to be more window film, but not of the stained glass variety.  We chose a textured glass pattern that blurs the view but still lets in sunlight.

windowfilm3


The process is pretty simple and fairly inexpensive.  The roll of film cost us about $20 and it covered this window plus half of another bathroom window.  To install, measure the window and cut the film to size.  I urge you to do a better job measuring than I did (you can see a sliver of window around the edge that didn’t get covered by film).  Make sure your window is clean, and spray it with water with a few drops of liquid soap mixed in.  Peel the backing off the film and wet that down with your diluted soap/water mixture as well.  Apply it to the window and wet it down on the outside one more time.  The third round with the spray bottle is to lubricate the outside so you can smooth it out and press out any air bubbles with a squeegee (a small one was included with the film kit).  And then you’ve got what looks like a textured glass window, but for the uncovered edge.  🙁  It still does the trick as far as privacy goes, though.

2009 © The Beehive All Rights Reserved